
The Canon A-1 is a landmark 35mm film SLR camera produced from 1978 to 1985‚ renowned for its advanced manual controls and aperture priority mode․

Key Features and Innovations
The Canon A-1 introduced groundbreaking features for its time‚ offering advanced manual controls and aperture priority mode․ It was the first SLR to feature an electronically controlled aperture‚ enabling precise exposure control․ The camera boasted an expanded metering system‚ supporting multiple modes‚ and offered a wide range of shutter speeds (30 seconds to 1/1000th of a second)․ Innovations included exposure compensation‚ multiple exposure capabilities‚ and an EV memory function‚ enhancing versatility․ Its compatibility with Canon’s FD lens series further expanded creative possibilities․ These features made the A-1 a favorite among professionals and enthusiasts‚ combining manual operation with cutting-edge technology for unmatched control and artistic expression․
Historical Context and Popularity
The Canon A-1‚ introduced in 1978‚ marked a significant milestone in the evolution of 35mm SLR cameras․ It was part of Canon’s iconic A-series‚ which helped establish the company as a leader in photography․ Known for its durability and reliability‚ the A-1 gained widespread popularity among professional photographers and enthusiasts alike․ Its release coincided with a boom in the photography industry‚ making it a sought-after tool for creative expression․ The camera’s reputation for versatility and advanced features solidified its place in photographic history․ Even today‚ the Canon A-1 remains a beloved classic‚ cherished by collectors and photographers who appreciate its timeless design and functionality․
Operating the Canon A-1
Mastering the Canon A-1 involves understanding its manual controls and film-based mechanics․ Start by loading the film in a dark environment‚ attaching the leader to the take-up spool․ Install the appropriate batteries‚ ensuring compatibility and proper installation․ Switch between modes like aperture priority and manual by adjusting the FD lens aperture ring․ Focus manually using the viewfinder’s aids like a split screen or microprism for accuracy․ Utilize the camera’s metering modes‚ selecting between center-weighted average and spot metering․ Adjust exposure compensation and explore multiple exposures for creative effects․ Set shutter speeds and apertures accordingly‚ considering lighting and desired depth of field․ For flash photography‚ connect an external unit and adjust settings for optimal results․ Advance the film manually after each shot using the lever․ Experiment with recommended accessories to enhance your photography experience․ Embrace the hands-on learning curve to fully utilize this classic camera’s capabilities․
Manual Mode and Exposure Control
Manual mode on the Canon A-1 offers precise control over exposure settings‚ allowing photographers to craft their shots with creativity․ To engage manual mode‚ simply move the FD lens aperture ring from the “A” position to the desired f-stop․ Use the shutter speed dial to set the exposure time‚ ranging from 1/1000th of a second to a full second‚ plus a Bulb (B) setting for extended exposures․ The built-in exposure meter provides accurate readings‚ displayed via an LED digital readout in the viewfinder․ This shows the recommended aperture and shutter speed combination․ The A-1 also features a manual flash synchronization mode‚ activated by setting the aperture to f/1․4 or f/2․8․ For added flexibility‚ exposure compensation can be applied in increments of ±2 EV‚ enabling quick adjustments for challenging lighting conditions․ Bracketing shots manually allows photographers to experiment with different exposures to achieve the perfect result․ The camera’s mechanical shutter ensures consistent performance‚ even in manual mode․ The A-1’s intuitive design makes manual exposure control accessible for both enthusiasts and professionals‚ fostering a deeper connection with the art of photography․ By mastering manual mode‚ photographers can unlock the full creative potential of the A-1‚ producing images with precise control over light and composition․ This mode is particularly useful in studio settings or when specific artistic effects are desired‚ such as intentional overexposure or underexposure․ The A-1’s manual capabilities make it a timeless tool for photographers seeking hands-on control over their craft․
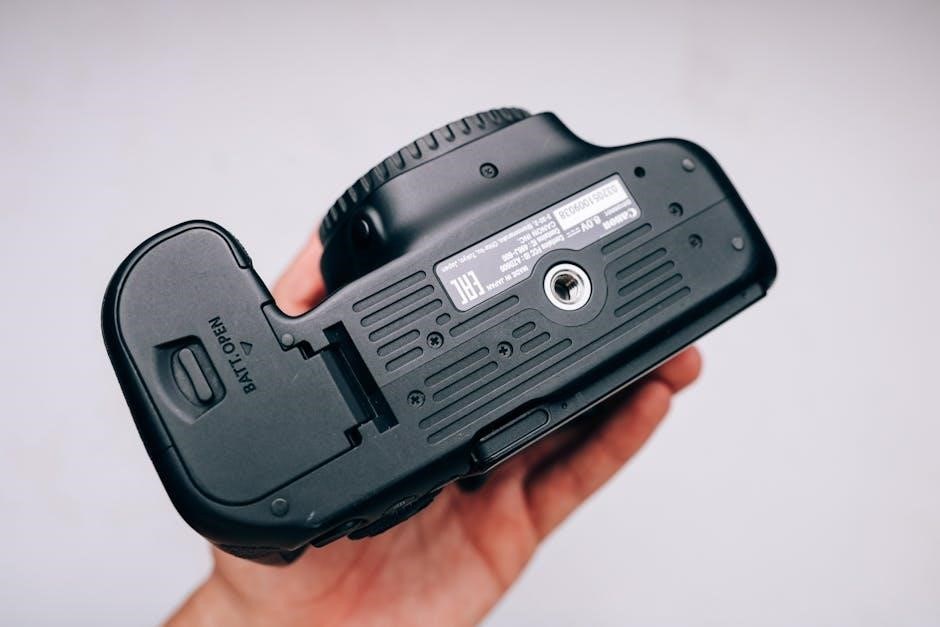
loading Film and Battery Installation
Installing the battery and loading film on the Canon A-1 are straightforward processes․ Start by inserting a 6V silver oxide battery into the battery compartment‚ ensuring proper alignment․ Next‚ open the camera back by pulling the film rewind knob․ Align the film leader with the red mark on the take-up spool and gently advance the film using the rewind knob․ Close the camera back and advance the film to the first frame using the rapid wind lever․ Set the film speed (ISO) using the dial on the lens mount to ensure accurate metering․ Properly loaded‚ the A-1 is ready for shooting․ Always handle the film in low-light conditions to prevent exposure․ This process ensures your camera is prepared for capturing high-quality images․
Advanced Metering and Settings
The Canon A-1 offers versatile metering with expanded modes‚ exposure compensation‚ and EV memory․ It supports multiple exposures‚ enhancing creative control for photographers․
Expanded Metering Modes
The Canon A-1 provides advanced metering capabilities‚ including multiple exposure preview and an LED digital display․ This feature clearly shows shutter speed and aperture‚ ensuring precise control․ Additionally‚ the camera supports exposure compensation‚ allowing photographers to adjust settings for creative effects․ With a wide range of film speeds and shutter speeds‚ the A-1 offers flexibility for various lighting conditions․ Its EV memory function further enhances versatility‚ making it a reliable choice for professionals and enthusiasts alike․ These features collectively contribute to the camera’s reputation as a versatile and powerful tool in film photography․
Exposure Compensation and Multiple Exposure
The Canon A-1 offers advanced features like exposure compensation and multiple exposure‚ enhancing creative control․ Exposure compensation allows photographers to adjust settings by ±2 stops‚ ensuring optimal results in challenging lighting conditions․ This feature is particularly useful for achieving desired effects‚ such as brighter skies or darker foregrounds․ Multiple exposure capability enables capturing several images on a single frame‚ creating artistic and layered compositions․ Activated by a dedicated switch‚ this function provides endless possibilities for experimental photography․ These features‚ combined with the camera’s precise metering system‚ make the A-1 a versatile tool for both professional and amateur photographers seeking to explore creative techniques․
Maintenance and Troubleshooting
Regular cleaning of the Canon A-1’s exterior and interior ensures optimal performance․ Avoid high temperatures‚ as they can damage components․ Store the camera in a dry place․
Cleaning and Care Tips
To maintain the Canon A-1’s performance‚ clean its exterior with a soft‚ dry cloth․ For the lens‚ use a microfiber cloth and avoid harsh chemicals․ Regularly inspect and clean the viewfinder and mirror using compressed air or a blower to remove dust․ Avoid exposing the camera to extreme temperatures or humidity‚ as this can damage internal components․ Store the camera in a cool‚ dry place when not in use․ For internal cleaning‚ consult a professional to prevent damage․ Replace worn-out seals or batteries promptly to ensure proper function․ Always handle the camera with care to preserve its longevity and optical quality․
Common Issues and Solutions
One common issue with the Canon A-1 is battery drain‚ often due to old or faulty batteries․ Replace them with fresh ones to resolve this․ Another problem is film advance jamming‚ which can be fixed by gently releasing the film or cleaning the film path․ The shutter may stick if the camera is exposed to high humidity; cleaning the shutter mechanism with compressed air can help․ If the light meter is inaccurate‚ check the battery contacts or consider recalibrating the meter․ For persistent issues‚ consult a professional technician․ Regular maintenance and proper storage can prevent many of these problems‚ ensuring the camera continues to function smoothly․
Additional Resources
Access the Canon A-1 manual online for free‚ available as a PDF download․ Explore forums and websites like foto․ru for user guides‚ tutorials‚ and troubleshooting tips․
Downloading the Manual
The Canon A-1 manual is widely available online as a free PDF download․ Websites like foto․ru and butkus․us offer comprehensive guides‚ including troubleshooting tips and advanced settings․ The manual covers essential features such as aperture priority mode‚ exposure compensation‚ and film loading instructions․ It also provides detailed diagrams for easy reference․ To download‚ simply visit the official Canon support page or trusted third-party sites․ Ensure compatibility with your device by using Adobe Reader for PDF files․ This resource is invaluable for both beginners and experienced photographers‚ offering in-depth insights into the camera’s functionality and maintenance․ Downloading the manual is a great way to enhance your shooting experience with the Canon A-1․
Recommended Accessories
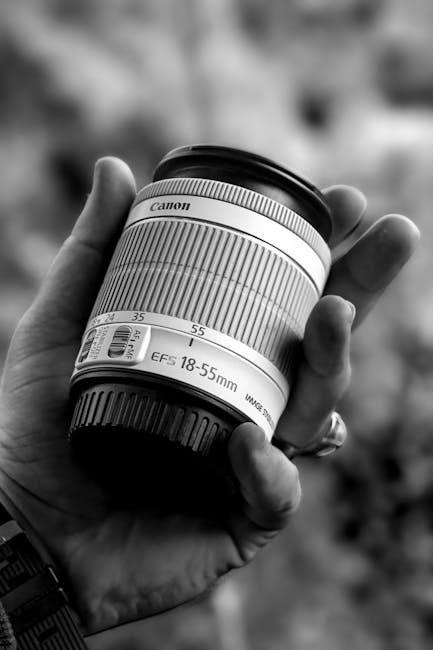
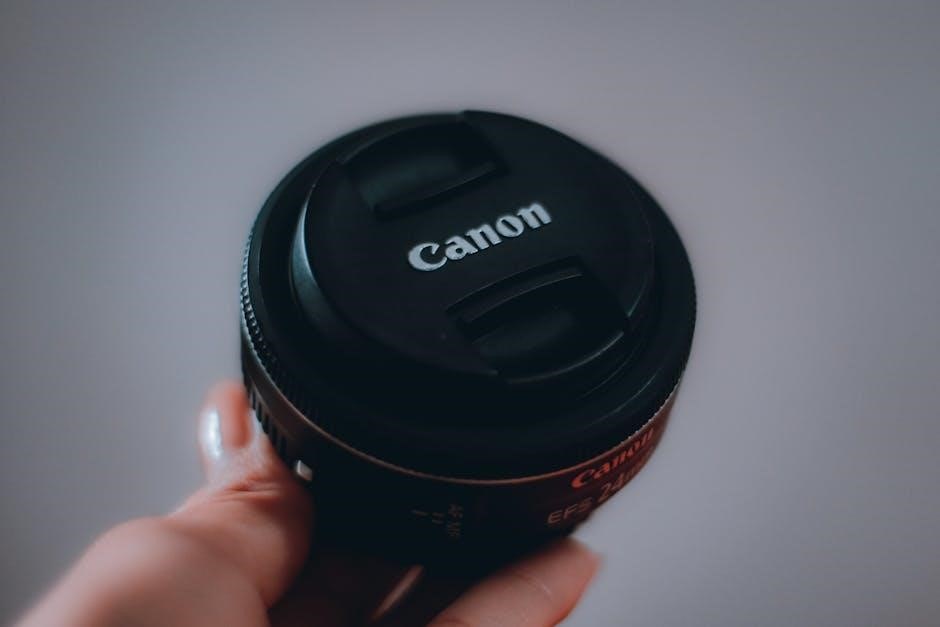
For the Canon A-1‚ essential accessories include FD-mount lenses‚ which offer superior image quality and versatility․ A sturdy camera strap ensures comfortable handling‚ while motor drives enhance shooting speed․ A tripod is ideal for stability in low-light conditions‚ and filters like UV‚ polarizing‚ and neutral density are valuable for controlling light․ Flash units provide additional illumination‚ and a remote shutter release minimizes camera shake․ Cleaning kits with soft brushes and microfiber cloths maintain the camera’s condition․ Lens hoods protect against flare‚ and extra batteries ensure uninterrupted use․ A durable camera bag and a comprehensive guidebook are also recommended for optimal functionality and photography results;
Leave a Reply