Welcome to the Chapin Sprayer Manual! This guide provides essential information for safe and effective use of your Chapin sprayer‚ covering assembly‚ safety‚ and maintenance tips.
Assembly and First-Time Setup
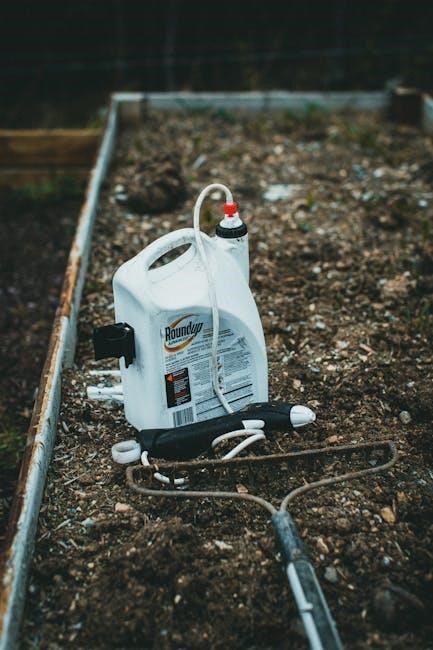
Begin by unboxing and verifying all components. Follow step-by-step instructions to attach the wand and pump. Ensure all connections are secure before initial testing.
2.1. Unboxing and Inventory
Start by carefully unboxing your Chapin sprayer and verifying all components. Ensure the package includes the sprayer tank‚ wand‚ pump‚ shut-off handle‚ and nozzles. Check for any visible damage;
– Inspect each part thoroughly before assembly.
– Refer to the manual for a detailed list of included items.
– If any components are missing or damaged‚ contact customer support immediately.
– Familiarize yourself with the parts and their functions to ensure proper setup.
– Store the packaging safely in case you need to transport or return the sprayer later.
– Always follow the manufacturer’s instructions for assembly and use.
2.2. Step-by-Step Assembly
Assemble your Chapin sprayer by following these simple steps:
Attach the wand to the tank using the provided connector.
Install the pump according to the manual’s instructions.
Connect the hose to the wand and tank ensure a secure fit.
Screw the nozzle onto the wand tip firmly.
Tighten all connections to prevent leaks during use.
– Double-check each connection for proper alignment.
– Refer to the manual’s diagrams for visual guidance.
– Ensure all parts are securely fitted before pressurizing.
– Test the assembly by gently pumping the handle a few times.
– If any issues arise‚ consult the troubleshooting section.
– Proper assembly is crucial for safe and effective spraying performance.
2.3. Initial Testing
After assembling your Chapin sprayer‚ perform an initial test to ensure proper function:
Pressurize the sprayer by pumping the handle 8-10 times.
Inspect all connections for leaks while gently squeezing the wand trigger.
Test the nozzle by spraying water to check flow and pattern.
Release pressure by turning the pump handle counterclockwise.
– Ensure the sprayer holds pressure without leakage.
– Verify the nozzle adjusts correctly and sprays evenly.
– If leaks or issues arise‚ tighten connections or replace worn parts.
– Repeat the process until satisfied with performance.
– Proper testing ensures safety and efficiency for first-time use.

Safety Precautions
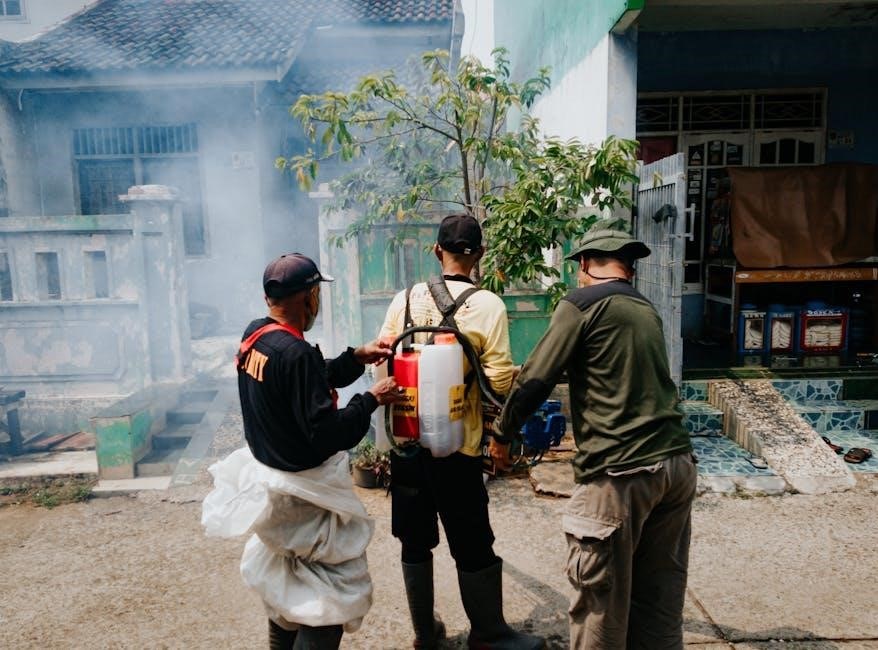
Read the manual and follow safety guidelines. Use water-based chemicals only. Avoid spraying water. Exercise caution with pressurized equipment for safe operation.
3.1. Handling Chemicals Safely
Always follow the chemical manufacturer’s instructions and safety guidelines. Use water-based chemicals only‚ as specified in the manual. Before spraying‚ read and understand all warnings on the chemical labels and in the sprayer manual. Avoid spraying water‚ as it may not be compatible with the equipment. When handling chemicals‚ wear protective gear such as gloves and eye protection. Ensure proper ventilation in the area. Never mix chemicals in the sprayer tank‚ and avoid using the sprayer for hazardous materials. After use‚ dispose of rinse water according to environmental regulations. Keep the sprayer out of reach of children and pets.
3.2. Pressurization Safety
Always pressurize the sprayer using the original pump provided. Never use unauthorized methods to pressurize the tank‚ as this can lead to equipment failure or injury. Before pressurizing‚ ensure the shut-off handle is in the closed position. Release pressure after each use by following the pressure release instructions in the manual. Avoid over-pressurizing‚ as this may damage the tank or hoses. If you notice any leaks or unusual sounds during pressurization‚ stop immediately and inspect the equipment. Always follow the recommended pressure levels to ensure safe operation. Proper pressurization is crucial for the longevity and safe functioning of your Chapin sprayer.
Usage Tips
For optimal performance‚ select the right nozzle and adjust spray settings according to the task. Use water-based chemicals only and ensure the tank is filled correctly. Always monitor the spray pressure and adjust as needed for even coverage. Regularly inspect hoses and nozzles for wear or blockages. Follow the manufacturer’s guidelines for chemical concentrations to avoid damage or ineffective spraying. Proper technique ensures efficiency and longevity of your Chapin sprayer.
4.1. Selecting the Right Nozzle
Selecting the right nozzle is crucial for effective spraying. Chapin sprayers offer various nozzle types‚ such as fan‚ cone‚ and flood nozzles‚ each designed for specific tasks. For broad coverage on lawns or gardens‚ use the fan nozzle. For precise targeting of weeds or shrubs‚ opt for the cone nozzle. The flood nozzle is ideal for larger areas requiring heavy application. Always ensure the nozzle is securely attached and aligned correctly. Adjust the spray pattern by rotating the nozzle tip. For long-distance spraying‚ consider the jet nozzle. Proper nozzle selection enhances efficiency and prevents chemical waste. Follow the manufacturer’s guidelines for nozzle compatibility and usage recommendations to achieve the best results. Regularly inspect nozzles for wear or blockages and replace them as needed.
4.2. Adjusting Spray Settings
Adjusting the spray settings on your Chapin sprayer ensures optimal performance for various tasks. To modify the spray pattern‚ rotate the nozzle tip to achieve the desired width and flow rate. For finer misting‚ reduce the pressure by loosening the pump handle slightly. For heavier application‚ tighten the pump handle to increase pressure. Use the shut-off handle to regulate flow during spraying. Always refer to the manual for specific pressure recommendations based on the chemical being used. Fine-tune the spray settings by adjusting the dial on the nozzle for precise control. Proper adjustment prevents over-spraying and ensures even coverage. Regularly check and maintain the nozzle for consistent performance. Adjusting settings correctly enhances efficiency and safety during use.
Maintenance and Care
Regularly inspect hoses and seals for wear. Replace worn parts promptly. After each use‚ drain the tank and clean it thoroughly to prevent chemical residue buildup.
5.1. Cleaning After Each Use
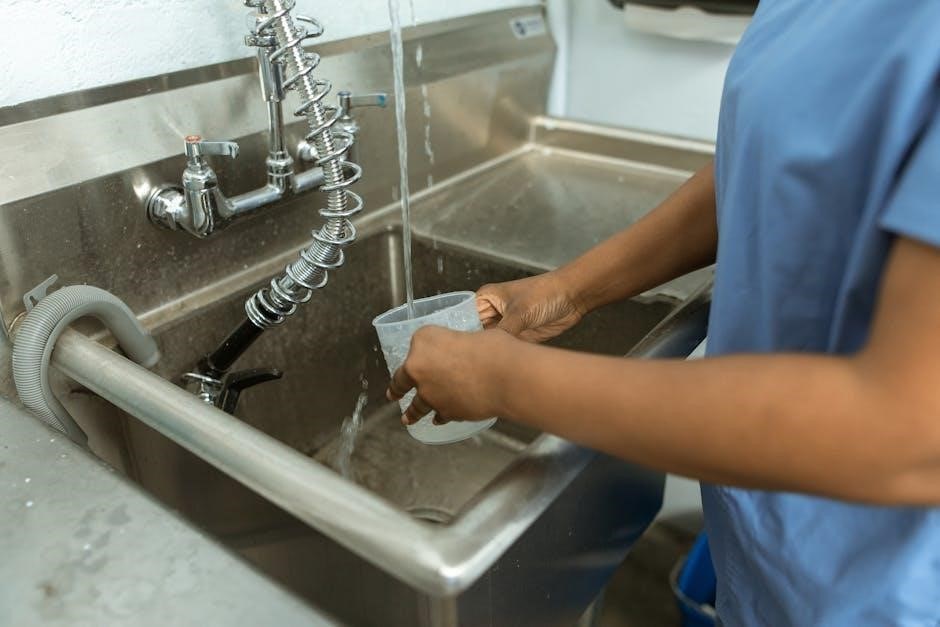
Cleaning your Chapin sprayer after each use is crucial for maintaining its performance and longevity. Start by emptying the tank completely. If you’ve used chemicals‚ rinse the tank thoroughly with water to remove any residues. Use a soft brush to scrub away stubborn stains or sediment. Pay particular attention to the nozzle and pump‚ as these areas are prone to clogging. Mix a solution of mild detergent and warm water‚ and circulate it through the sprayer by pumping it several times. Finally‚ rinse everything with clean water and allow the sprayer to air dry. Regular cleaning prevents corrosion and ensures optimal functionality for future use.
5.2. Long-Term Storage
For long-term storage‚ ensure the Chapin sprayer is completely clean and dry. Drain all liquids from the tank and rinse thoroughly with water to remove any chemical residue. Store the sprayer in a cool‚ dry place away from direct sunlight and extreme temperatures. Avoid leaving the sprayer pressurized‚ as this can cause damage over time. Before storing‚ inspect the tank and hose for any signs of wear or cracks. If storing for an extended period‚ consider cleaning the nozzle and pump with a mild detergent solution. Allow all parts to air dry fully to prevent mold or mildew. Always follow the manufacturer’s guidelines for storage to maintain the sprayer’s performance and longevity.
Troubleshooting Common Issues
Identify and address common problems like clogs‚ leaks‚ or pump malfunctions. Check for blockages‚ ensure proper pressurization‚ and clean the sprayer regularly to maintain optimal performance.
6.1. Identifying Leaks
Inspect the Chapin sprayer for leaks by examining hoses‚ connections‚ and seals. Apply soapy water to suspect areas; bubbles indicate leaks. Check the pump‚ tank‚ and nozzle connections. Tighten any loose fittings or replace worn-out seals. Ensure all components are properly aligned and secured. Regularly cleaning and maintaining the sprayer can help prevent leaks. If a leak persists‚ refer to the troubleshooting section or contact Chapin support for assistance. Addressing leaks promptly ensures safe and efficient operation of your sprayer. Always follow the manufacturer’s guidelines for repairs and replacements to maintain warranty validity and performance.
6.2. Pump Malfunction Solutions
If your Chapin sprayer’s pump malfunctions‚ start by checking for airlocks or improper assembly. Ensure the pump handle is aligned correctly and tighten all connections. If the issue persists‚ inspect the pump for blockages or worn-out seals. Clean or replace any damaged parts. Apply silicone-based lubricant to moving components for smooth operation. If the pump still doesn’t function‚ consult the troubleshooting guide or contact Chapin customer support for assistance. Regular maintenance and proper storage can prevent future malfunctions. Always follow the manufacturer’s instructions for repairs to ensure optimal performance and extend the lifespan of your sprayer.
6.3. Clogged Nozzle Solutions
If your Chapin sprayer’s nozzle becomes clogged‚ start by turning off the pressure and disconnecting the hose. Use a soft brush or a pin to gently remove debris from the nozzle holes. Soak the nozzle in warm water for 10-15 minutes to loosen any dried chemicals. For stubborn blockages‚ use a toothbrush to scrub the nozzle thoroughly. Avoid using harsh chemicals or abrasive materials that could damage the nozzle. After cleaning‚ reattach the nozzle and test the sprayer by spraying water to ensure proper flow. Regular cleaning and maintenance can help prevent future clogs and ensure consistent performance.
Winter Storage Instructions
Drain the tank completely and clean it thoroughly. Store the sprayer in a dry‚ protected area to prevent freezing and damage to components.
7.1. Draining the Tank
Properly draining the tank is crucial for winter storage to prevent freezing and damage. Start by releasing pressure according to the manufacturer’s instructions. Disconnect the hose and pour out any remaining liquid into an appropriate container. Rinse the tank thoroughly with clean water to remove any residue. Use a soft brush to scrub away stubborn stains or chemical buildup. Allow the tank to dry completely before storing it in a cool‚ dry place. Avoid leaving any moisture‚ as it can lead to mold or corrosion. For added protection‚ drain the tank outdoors to prevent accidental spills indoors. Always follow environmental guidelines for disposing of rinsing water and chemicals. This ensures safety and extends the sprayer’s lifespan. Regular draining also helps maintain the sprayer’s efficiency for future use.

Environmental Considerations
When using your Chapin sprayer‚ always prioritize environmental safety. Dispose of chemicals and rinsing water responsibly‚ following local regulations and manufacturers’ guidelines. Avoid spraying near water sources or during windy conditions to prevent drift. Clean the sprayer thoroughly after each use to avoid contamination. Store chemicals in their original containers to reduce risk of accidental spills. For disposal‚ drain the tank completely and rinse it before recycling or proper disposal methods. Never dispose of chemicals or sprayer components in regular trash or storm drains. By adhering to these practices‚ you help protect the environment and ensure safe‚ efficient use of your Chapin sprayer. Always follow eco-friendly guidelines to minimize your ecological footprint.
Leave a Reply